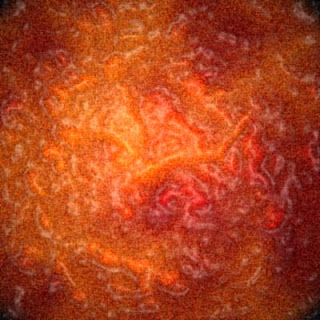
So here we go.
1)-First choose two different colors for your foreground and background. See the image below:
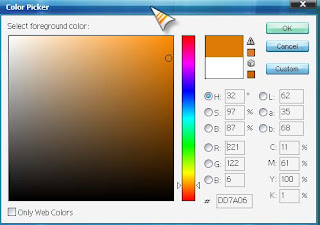
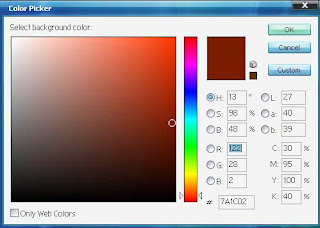 2)-Now apply some clouds. Go to Filters>Render>Clouds. Now you will have something like this:
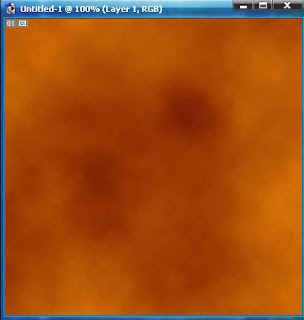
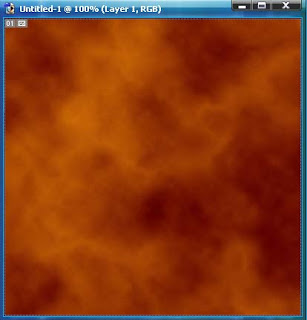
3)-Again go to filters>render. This time choose 'difference clouds'. You should apply them twice or more. If you apply it only once your image will become dark, simply black. After applying 'difference clouds' you should have something like this:
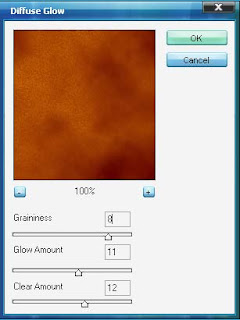
4)-Now go to Filters>Distors>Diffuse Glow.See the image below for details. Don't make the grains too big.
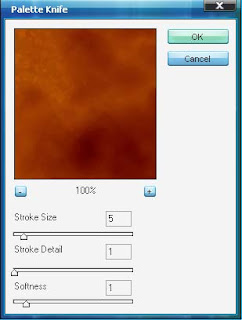
5)-Next step is to go to Filters>Artistic>Palette Knife. See the image below for details:
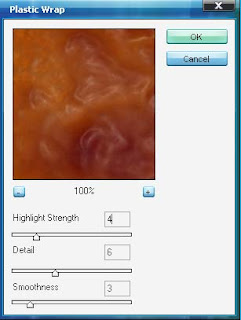
6)-So now again go to Filters>Artistic>Plastic wrap.
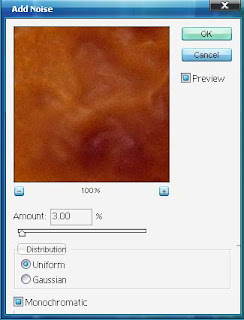
7)-It's time to add some noise.Go to Filters>Noise>Add noise. Use Monochromatic option.
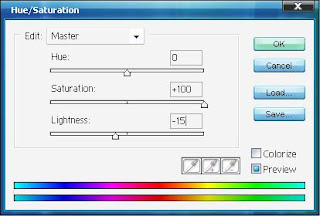
8)-Now we are going to do some color adjustments. Go to Image>Adjustments>Hue/Saturation. Or simply use shortcut key Ctrl+U. See the image below for details.
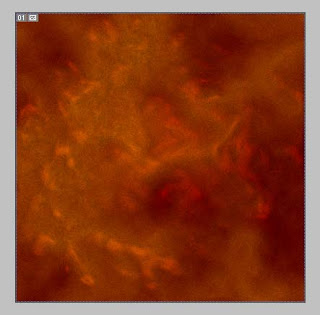
 Now you should have something like this:
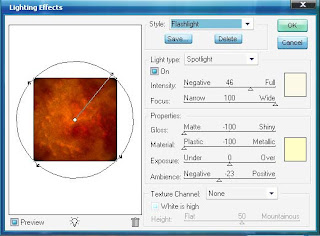
9)- Now go to Filters>Render>Lighting effects. First of all choose 'Flashlight' from styles option. See the image below.
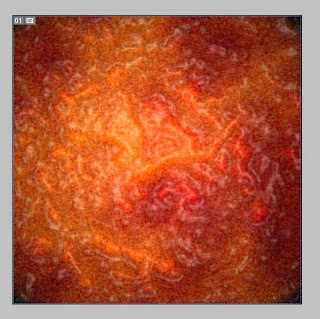
10)- This is your final result.
Note: There is always a chance of improvement.

No comments:
Post a Comment